- Platform Trading
- Platform
- Petunjuk Penggunaan
- Start Cepat: NetTradeX
- Mengaktifkan akun
Mengaktifkan akun
To add the created account (real or demo) to NetTradeX terminal, select "File" option from the main menu and in the appeared context menu select "Create existent login".
"Adding existent login – step 1" window will open in the terminal.
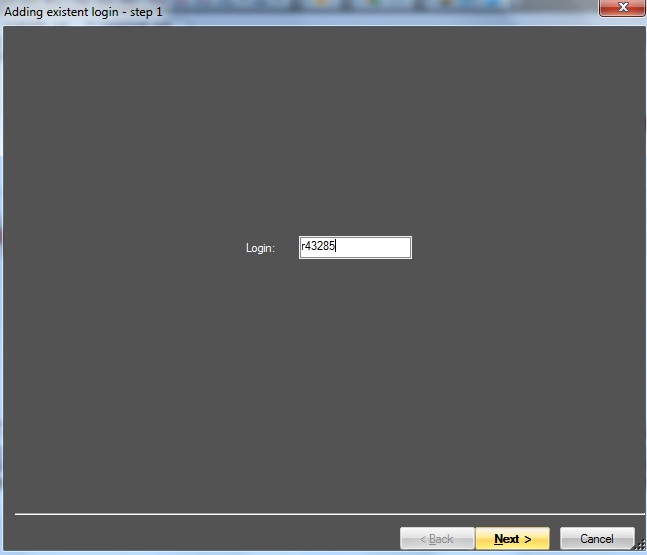
In "Logins" field enter account number (real account starts with "r" letter, demo account - with "demo") and press "Next".
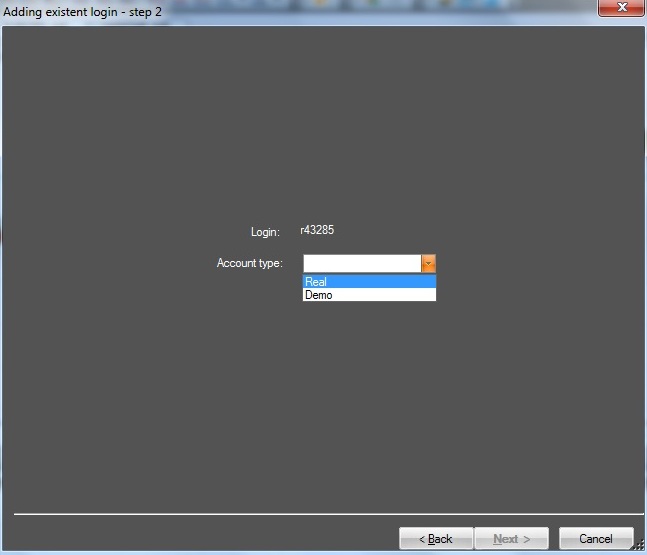
In the opened "Adding existent login – step 3" window select the account type, "Real" or "Demo", and press "Next" button.
"Adding existent login – step 3" window opens.
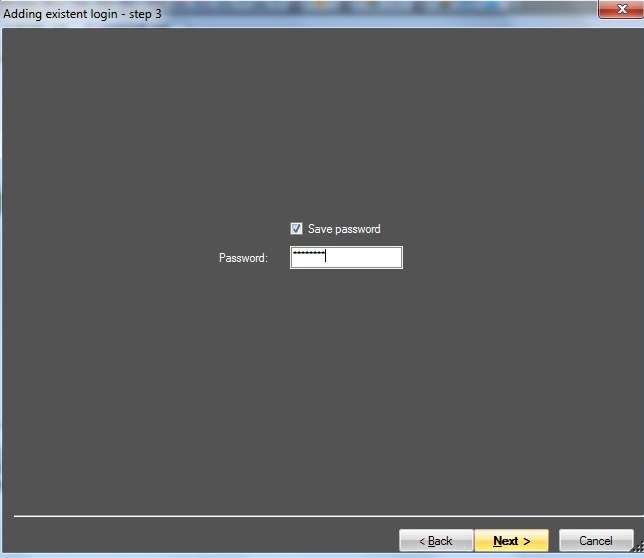
In this window you can tick "Save password", enter the password in the field (account credentials have been created previously in PA) and press "Next". Or you can at once press "Next" without ticking (and without entering the password in this step).
"Adding existent login – step 4" window, a dialog of creating "workspace" opens, where you can choose your "workspace" name and template.
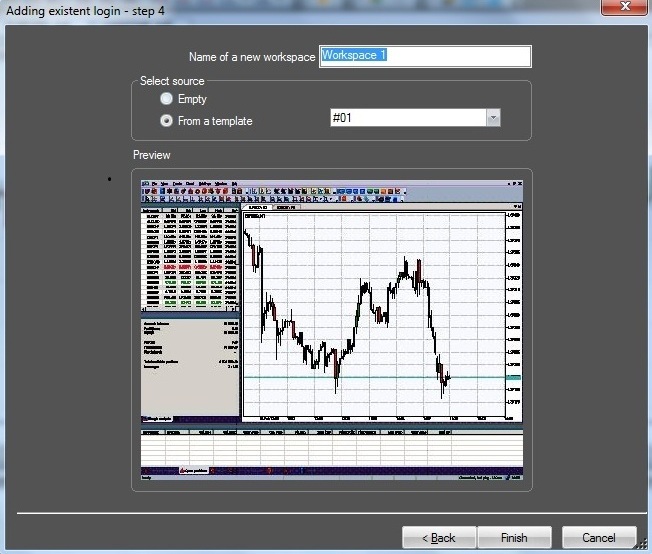
Press "Finish" button. The account creation procedure will be completed, the account will appear in the list of "Logins" of "Navigator" window (but the account is not yet connected).
For connecting the account select it from the list of "Logins" in "Navigator" window.
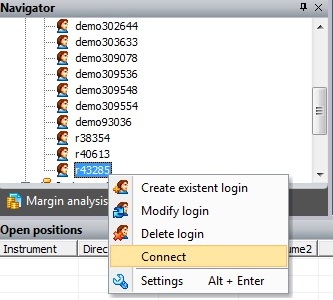
Double-click on the account number or call the context menu by right-click and select "Connect" option. If the password has been entered and remembered previously, the account will be connected, otherwise "Connect to Trade Server" window will open.
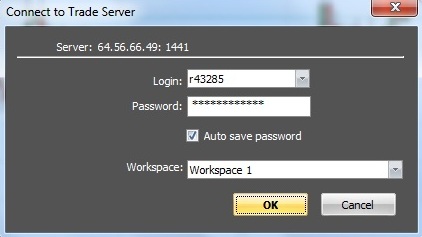
In the opened window your can enter password (and additionally choose "workspace"). After that the account is connected to the server and is ready for work.
Important: The existent login is added once on each PC from which you want to get access to your account.
